How to Take a Screenshot on Realme X7 Max 5G: A Comprehensive Guide
Uncover all you need to know about capturing screen content with your Realme X7 Max 5G
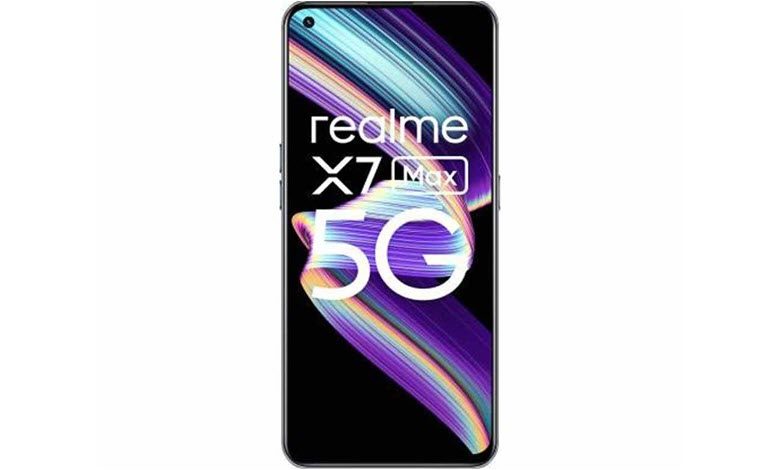
Screenshots are an essential part of our smartphone usage today. From preserving a memorable chat conversation to capturing a fleeting moment on a live video, screenshots allow us to document and share our digital experiences. This guide is dedicated to Realme X7 Max 5G users, providing an extensive walkthrough on how to efficiently use the screenshot feature on your device.
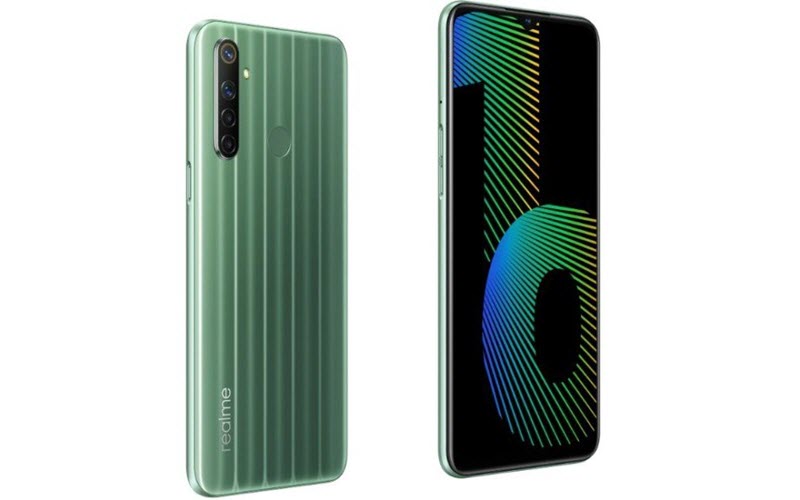
Packed with a 6.74-inch IPS LCD panel and a dynamic display that promises sharp visuals, the Realme X7 Max 5G offers a pleasurable screen viewing and capturing experience. In the forthcoming sections, we’ll delve into the intricacies of taking a screenshot on this device, giving you the tools to maximize your device’s potential.
Table of Contents
Understanding the Basics of Screenshots on Realme X7 Max 5G
Before diving into the process, it’s essential to understand what a screenshot is. Essentially, it’s a capture of what’s currently visible on your device’s screen. This content can then be shared, saved, or edited as per your requirement.
Step-by-step Guide to Taking a Screenshot on Realme X7 Max 5G
Method 1: Using the Power and Volume Down Button

This is the traditional way to take a screenshot and works on almost all Android devices.
- Open the screen you want to capture on your Realme X7 Max 5G . This could be a game, an article, a picture, a conversation, or anything you wish to screenshot.
- Now, simultaneously press and hold the power button and the volume down button. You can find these buttons on the right side of your device.
- Hold them for about 1-2 seconds. You’ll see a quick flash on your screen, indicating that the screenshot has been taken.
- You can now access this screenshot from your photo gallery, usually in a folder named “Screenshots.”
Method 2: Using the Three-Finger Swipe

The Realme X7 Max 5G , like many modern smartphones, provides a more intuitive way to take a screenshot with a three-finger swipe.
- First, you’ll need to ensure that this feature is enabled. Go to your phone settings.
- Find and select “Gestures & Motions.”
- Within this menu, look for the “Three-finger screenshot” option and ensure it is enabled.
- Once enabled, navigate to the screen you wish to capture.
- Now, simply swipe down on the screen using three fingers. This gesture will immediately capture a screenshot.
Method 3: Using the Quick Settings Panel
Another easy way to take a screenshot is through the Quick Settings panel.
- Pull down the notification shade by swiping down from the top of your screen. Do this twice to access your Quick Settings panel.
- Among your Quick Settings options, you’ll see a “Screenshot” option. Tap on this, and a screenshot of your current screen will be captured.
Method 4: Using the Screen Recording Function
While not traditionally used for screenshots, the screen recording function can be a handy tool if you want to capture multiple screenshots within a short period or if you want to show a process on your screen.
- Access the Quick Settings panel by swiping down twice from the top of your screen.
- Find and tap on the “Screen Recorder” option.
- Once recording has started, navigate and interact with your device as you wish. Everything displayed on your screen while the recorder is running will be captured in the recording.
- After you’re done, stop the recording. You can now go through the recorded video and capture screenshots from the frames you want.
Method 5: Using a Third-Party App
Numerous third-party applications offer advanced screenshot capabilities, including timed screenshots, scrolling screenshots, and more.
- Open Google Play Store and search for “Screenshot Apps.”
- Browse through the options and choose an app that suits your needs. “Screenshot Easy” and “Super Screenshot” are among the popular ones.
- Download and install the selected app.
- Open the app and familiarize yourself with its functionalities. Most of these apps will allow you to take a screenshot through the app interface or by using custom gestures.
- Navigate to the screen you want to capture and use the preferred method within the app to take a screenshot.
Remember, all the methods mentioned above require permissions to access your device’s storage to save the screenshots. Ensure you’ve granted the necessary permissions to successfully capture and store your screenshots.
Optimizing Your Screenshot Experience
Beyond just capturing the screen, your Realme X7 Max 5G allows you to directly share, edit or delete the screenshot right after it’s taken. Here’s how you can make the most out of these features:
Editing Your Screenshot: After taking a screenshot, a small preview will appear in the corner of your screen. Clicking on it will open the screenshot where you can immediately crop or doodle on it before saving.
Sharing Your Screenshot: Right next to the edit option, you’ll find a direct share button. This feature comes in handy when you need to immediately send the screenshot to someone else via social media or messaging apps.
Deleting Unwanted Screenshots: If the screenshot didn’t capture what you wanted, you can immediately discard it by clicking on the ‘X’ or delete button.
FAQs
1. Where are my screenshots saved on my Realme X7 Max 5G ?
All screenshots are automatically saved in the Screenshots folder in your device’s Gallery.
2. Can I capture a long screenshot on my Realme X7 Max 5G ?
As of the current device specifications, the Realme X7 Max 5G doesn’t support scrolling or long screenshots.
3. Can I take a screenshot while playing a video on my Realme X7 Max 5G ?
Yes, you can take a screenshot while playing a video by pressing the Power and Volume Down buttons simultaneously.
4. Can I take a screenshot on Realme X7 Max 5G without using the power button?
As of the current device specifications, the primary method to take a screenshot on the Realme X7 Max 5G involves using the power and volume down buttons.
5. I took a screenshot, where can I find it?
Once you capture a screenshot on your Realme X7 Max 5G , it is automatically saved in your device’s internal storage. You can access your screenshots by going into your phone’s “Gallery” or “Photos” app and look for a folder named “Screenshots”. If you’re using a file manager, you can find them under the /DCIM/Screenshots directory.
6. Can I edit my screenshots after taking them on my Realme X7 Max 5G ?
Yes, you can edit your screenshots after capturing them. Once you’ve taken a screenshot, a quick menu often appears offering instant options like “Share,” “Edit,” or “Delete.” By selecting “Edit,” you can crop the screenshot, annotate it, or apply filters. If you miss this instant menu, you can always access your screenshot from the gallery and use your phone’s built-in editing tools or any third-party app to modify your screenshot as desired.
Conclusion
The Realme X7 Max 5G brings a lot to the table in terms of features and specifications, making it an exciting device to use. Its ability to capture screenshots swiftly and effectively adds to its appeal. By following the steps mentioned in this guide, you’ll find it quite straightforward to take a screenshot and make the most of this feature.
Remember, practice makes perfect. So, the more you use these features, the more intuitive it becomes. We hope this guide has brought you one step closer to mastering your Realme X7 Max 5G .


